Showing posts with label toys. Show all posts

Thursday, December 24, 2020

Advent calendar 2020 - day 22. 23 & 24 of Santa's workroom

The last blog before Christmas Day, and the last one of the Advent calendar, and probably the last one of the year ;)
Like I'd said, I haven't done more of the tutorials (it's all too tiny and straining for me atm) but I put in  some final decorations in the workroom and the tree.
So this is it for this year. I had a great time with this project and I'm still amazed at what I've done in less than a month. I guess that's not something I can do again, but I hope I can continue working on this project and maybe add a toy shop next winter :)

The parcels in the lest corner are made by Kim
(Bibbidi Bobbidi Boo)

Also, I finally finished my Santa. He almost would have been a nearly-hairless Santa tomorrow ^^
I used the curly wool type hair Kim had sent me and it worked so much better than the straight viscose fibres I used for Bill! That needed a much more steady and experienced hand than mine ;)


With our crafting club we started making a Santa back in September and I didn't expect him to be finished on time when I started a second project in December.
Jolinda has finished her Scottish Santa as well, and you can see him here: click

Now it's time to put all matererials away and enjoy the holidays. My son arrived today, hadn't seen him in six month, and tomorrow we'll have diner at my parents, what more could I wish for in this very difficult year.

I wish everyone a merry Christmas and hope 2021 will be a good/better year
and most of all a healthy one.
Take care 💗

Monday, December 21, 2020

Advent calendar 2020 - day 20 & 21 of Santa's workroom

I told you I'd think about another layout. However, that will be something to tackle next Advent. I'll see then whether or not I want to make a toy room next to the work room. Maybe I'll keep this whole space for multiple elves to work in, or have a fireplace and a comfy chair for Santa on one side. I could alway make another roombox the same side and have a toyshop with the workroom on the first floor ;)
Since I don't want to make that decision yet, I won't finish the inner or outer walls.
I will make some more decorations for the tree and the room, but not much; making the smaller miniatures, combined with the working pace is taking a toll on my upper body again :')


Though I did do another challenge from the Advent calendar this weekend.. The tutorial used tiny 8 x 10 mm spools which I didn't have, so I made a cylinder shape in that size from Fimo, and then I took some inspiration from this tutorial from Catharine Black. 


It was fun trying to figure it out and I love the result, but two was more then enough ;)


I'll decorate the tree further and I'd almost forget that I still have Santa to finish so there will probably just one more blog about the Advent calendar. Hopefully before the 25th ^^

Here is the complete list:

Day 1 - getting together the roombox
Day 2 - a standing-table
Day 3 - shelf unit above the desk
Day 4 - 3 drawers unit on wheels
Day 5 - a bench stool
Day 6 - Santa's little helper
Day 7 - Santa's little helper
Day 8 - Santa's little helper (hair & beard)
Day 9 - step stool
Day 10 - desk accessories
Day 11 - desk pad & paper bin
Day 12 - Christmas tree
Day 13 - tree skirt
Day 14 - small wall unit
Day 15 - large wall unit
Day 16 - Christmas tree candles
Day 17 - knitted Christmas bauble
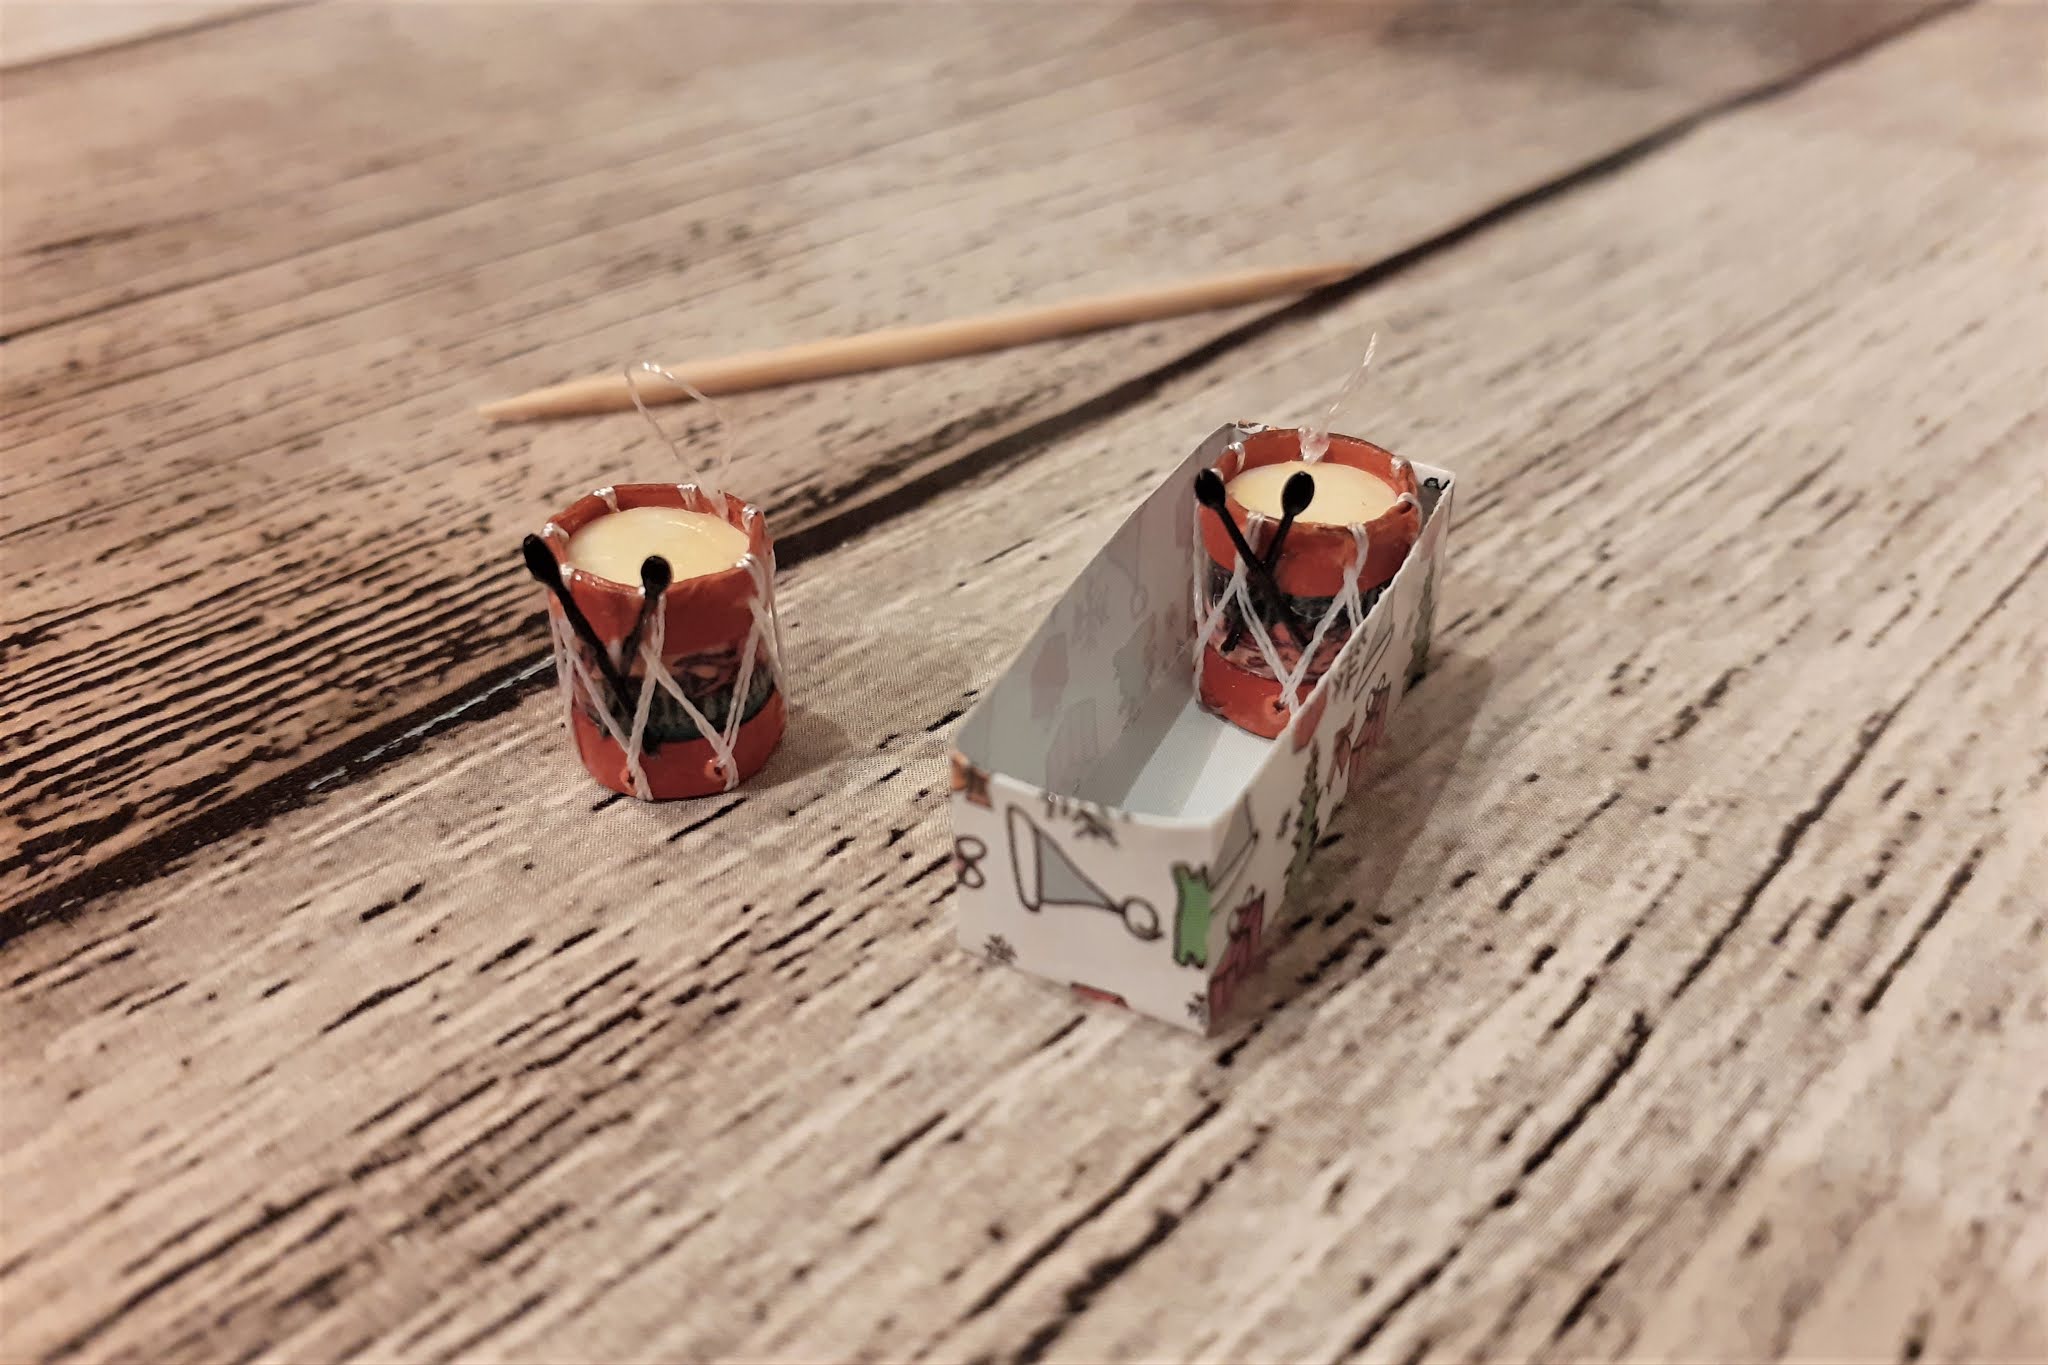
Day 18 - little drums
Day 19 - Christmas cookies
Day 20 - little rocking horses
Day 21 - Star anise and cloves
Day 22 - Christmas baubles & garland
Day 23 - Little paper angels
Day 24 - Crochetted Christmas star

Friday, May 15, 2020

A rocking Hippogriff


Since I'd made the book ends I've started other tutorials but got a bit sidestracked due to a infected tooth nerve.
And instead of finishing them I got inspired by another one of the daily tutorials from DHN on FB on Monday:')
The tutorial was for a rocking elephant (instead of a rocking horse) and it got me thinking about a Harry Potter version. Fantastic beasts were an obvious choice and the first one that came to mind was a Hippogriff.


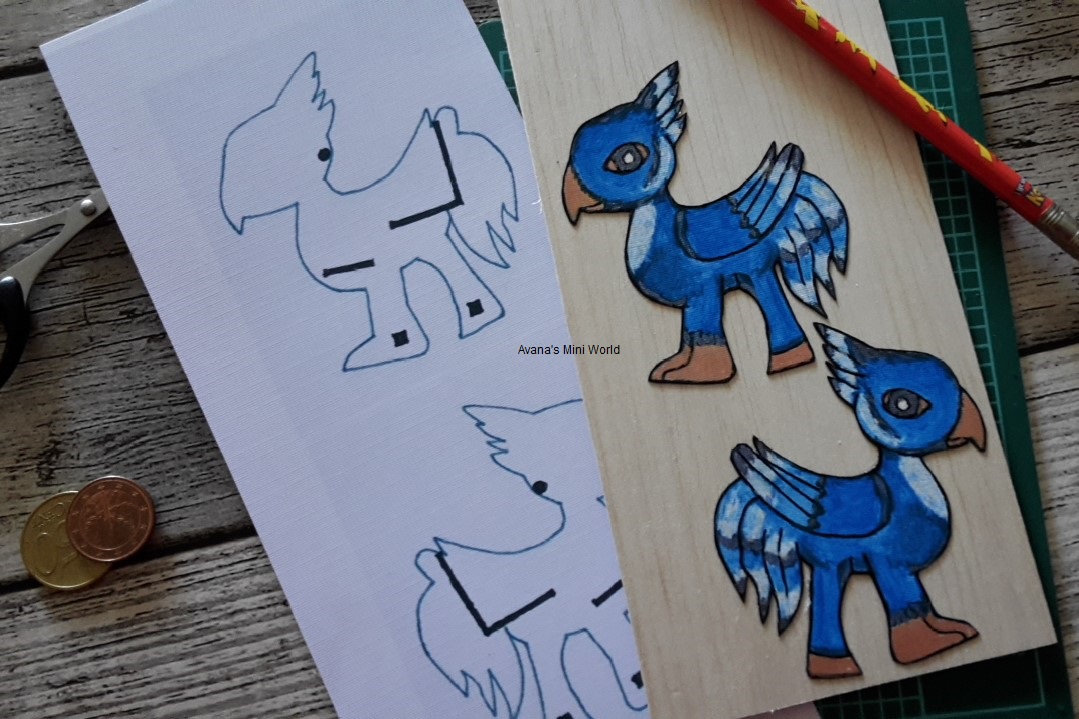
So I started looking for images, cut and paste the different bodyparts in Paint like a jigsaw puzzle, adapting them, added bits and pieces of my own and resized it to fit the markings on the original pattern. Not easy but definitely fun and challenging :)
When given a HP twist, those daily workshops really take multiple days to make, but then, I would never make a rocking elephant lol


When the drawing finally was exactly the right size and to my liking, I coloured it with acrylic paint.


I scanned the painted version, copied one in Paint for the other side, printed it on linnen paper, cut them and painted the cutting edges black.


I added some shiny touches with metalic acryl paint and glued them on Balsa.


After that I cut the two hippogriffs out of the wood, which was obviously a very precise job. Though sanding the edges was even harder; I was so worried the Balsa would split or just crumble. I got the markings on the backs by cutting them out of the paper Hippogriff :)


I painting the back of the Hippogriffs twice.


And finally started building the rocking hippogriff :)


Painted the seat and other parts ...


... before I glued the second Hippogriff in place :)


Time to make the rockers. I made these from cardboard (two layers) because I didn't think I could cut a sturdy pair from Balsa ;)
After a layer of Gesso, I painted them with black acrylic and glued them - not under but - at the back of the feet. Accidentally fitting just against the support beams between the feet.


With two coats of varnish it's finished! And I love it <3
Don't know where I'll place it, but that doesn't matter for a change ^^