Showing posts with label steamer trunk. Show all posts

Thursday, September 21, 2017

How to make an Hogwarts steamer trunk part 3

 (for part 2: here)

The metal looking details for the trunk were the most time-consuming part of the process. Especially glueing them :') I started with Tacky glue but that didn't work well enough, so in the end I used Super glue.


I made them from aluminum small and large tea light cups. Could have just drawn and cut them but for the first parts I used brass embossing stencils I had.
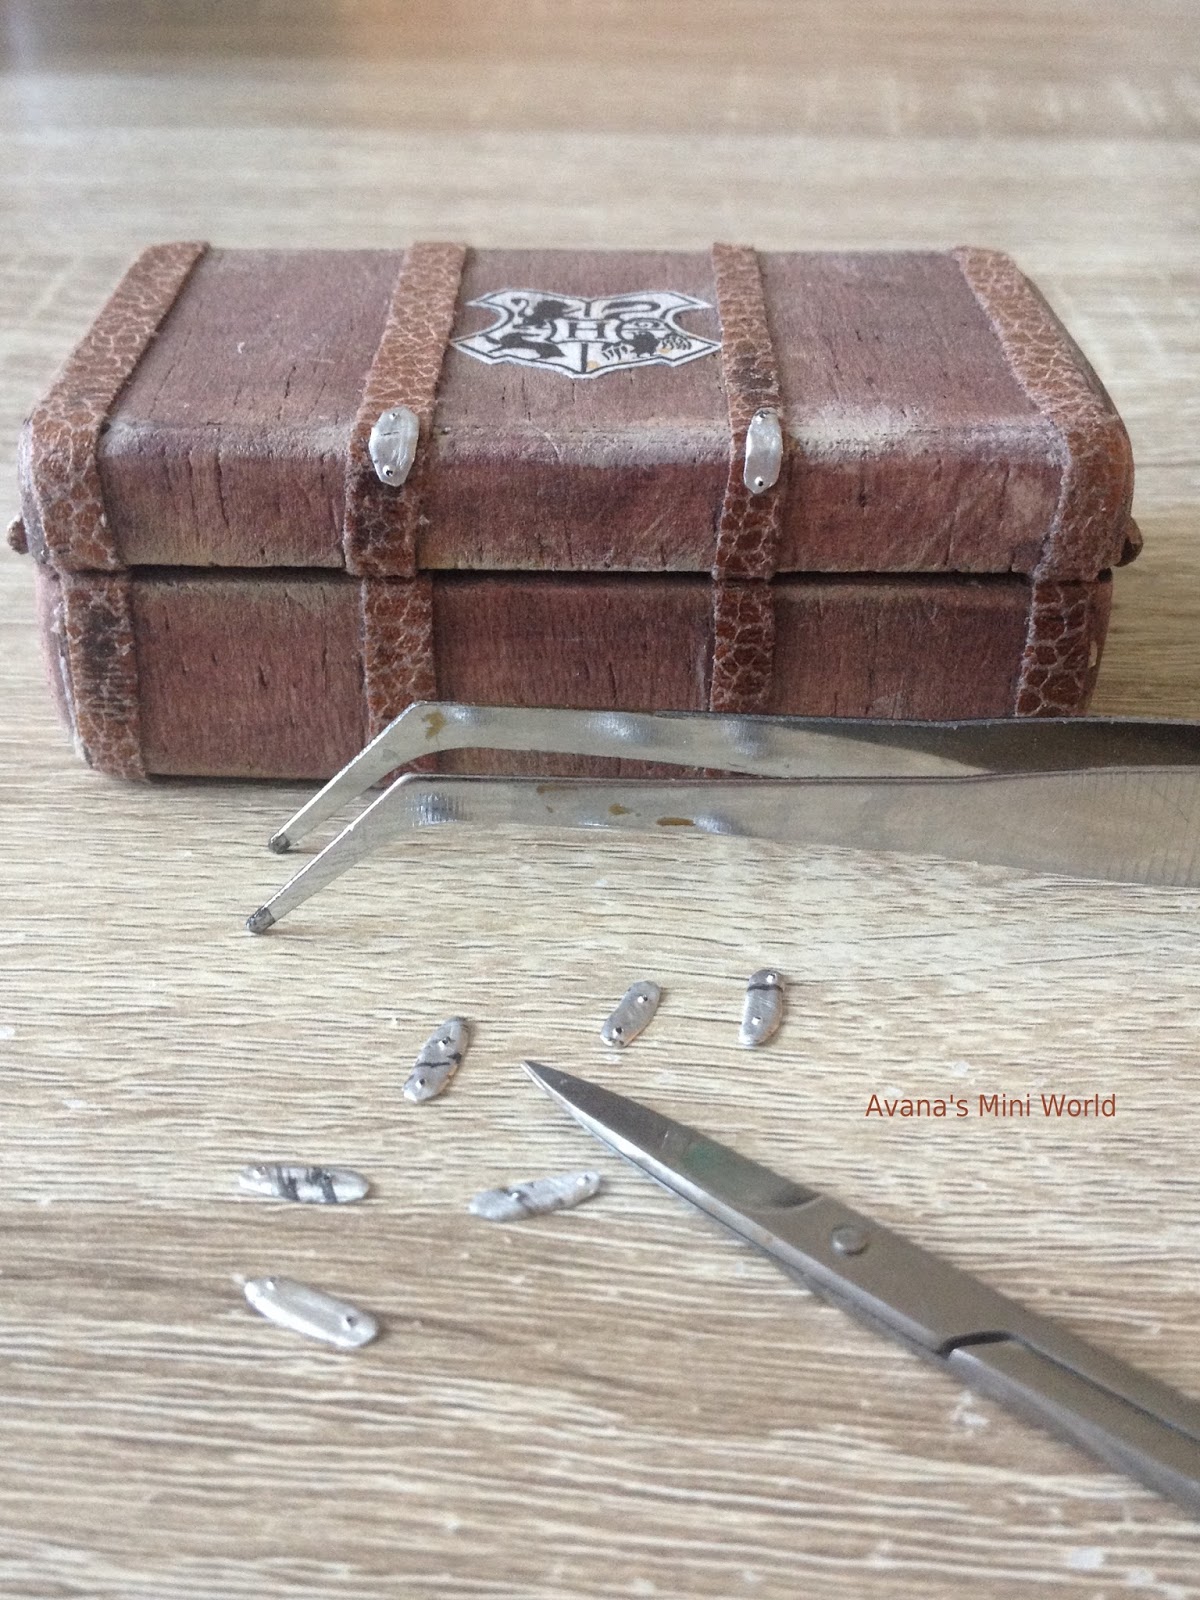

I cut them, made same tiny holes at both ends by piercing them and glued them. Super glue was needed ;)


Four on the front, four on the back and on to the next parts.


I forgot to show before, but this is how I tried to make them look less shiny and new. First I sanded the aluminum, I added a bit of black nail polish and then dabbed it with a paper towel before it dried completely. If there's still too much black, you could use some sand paper as well.


For the corner parts I drew the shape with a pencil on the aluminum and cut it with sharp siccors. Repeated that multiple times before I had a shape that fitted the corned and looked half way decent (a)


After a cut the parts for the eight corners. A bit too much black so I sanded them a bit. 


I punctured then on all three corners (with the silver side up), and made the holes for the side of the trunk a little bigger.


I've forgotten to take photo's when I made the longer metal strips but the process is the same.


The only thing missing are the locks but for those I'll look in Rijswijk at the fair next month :)


All in all, I'm very happy with the way it turned out. And though I normally need a tutorial or something to get started and make my own version of something, it was once trying to work this out on my own with only the movie stills for inspiration.

I hope you like following the process and if you want to know something about that, don't hesitate to contact me, here or on my Facebook page :)

Thursday, September 7, 2017

How to make a Hogwarts steamer trunk

To avoid those pesky cottage doors, I continued making items for Draco's bedroom (a)
So I started with a replica of the steam trunks you can see in the Harry Potter movies. No tutorial or starter point other than the movie pictures.


And because I hadn't been able to find a tutorial anywhere, I figured I should make some extra photos while working and take more meassurements than usual, in case someone wants to make a trunk as well :)
Since it's a work in progress, I hope things will work out right the first time.

For the base I used 3 mm Balsa:
  • 2 x (7,7 cm x 4,6 cm) for top and bottom
  • 2 x (5,2 cm x 1,8 cm) for both under side panel
  • 2 x (5,2 cm x 1 cm) for both top side panels
  • 2 x (7,7 cm x 1,8 cm) for both under panels front and back
  • 2 x (7,7 cm x 1 cm) for both top panels front and back

Glue the parts together like this.
The longer panels fit between the smaller ones.

Sand the edges and corners untill
they look all rounded like this.

I also sanded the two parts together so they'd fit better.

I cut two strips from 1,5 mm Balsa,
approx. 0,4 cm x 5 cm and cut two corners.

I sanded the edge a bit rounded and then
glued it to the top of the trunk, like this.

Be sure you can still close the trunk :)


Next, I drew two pencil lines all around
the trunk so you'll get three equal parts.

I took approx. 80 cm fabric cord, and because
it was a bit too white, I made a mixture
from oil paint and rubbed it onto the cord.

After I'd stained the trunk (walnut), I used that
same greenish oil paint, mixed it with same white
Gesso (I know, weird xD) and lightly dabbed some
on the corners and other spots on the trunk.

And this is the result so far.

I love the aged and worn look!

Tomorrow I'll continue with all the bits and pieces.

I hope you liked it. Please, contact me if you have questions!