Showing posts with label beams. Show all posts

Sunday, April 25, 2021

Hogsmeade cottage - the bedroom part 1

After having finished the roof with the gabled dormers, I treated myself on some kits from 't Tafereeltje. A reward as well as a motivation for the bedroom ;)
I was very happy to have found the candle wall sconces I liked for the bedroom. Love the rocking chair and the dressing table with the mirror. I've also bought door handles, so I can finally finished the doors after four years (a) Furthermore black stiletto's for Bianca and some cleaning supplies for the cupboard under the stairs. 


I assembled the wand lights after I drilled holes for the wires.
.

I sanded and painted them. 


Then I coated them with acrylic varnish (gloss).


I needed extra light bulbs for the candles, and couldn't resist to buy
some bonbons as well. They are white resin paint-them-yourself
bonbons. I've also bought a small bottle for glue or paint. And as a
surprise I got an extra resin object; Alladin's lamp. But those
bonbons .... omg I can hardly see them :') 


I made candles around the wires just underneath the little light bulbs,
baked them and then put the wires through the hole in the cups.


I punctured two little holes on either side of the door opening and
threaded the wires through after I have put some black nail polish
on the wire just under the sconces so you won't see any white.


I wallpapered the next wall, using a soft light mint coloured
wallpaper, a left over piece from my sister's bedroom ^^ 


I spend quite some time deliberating how to place the beams.
This way I can hide two ledstrips in the 'gap' between
the beams and the side walls at the back.


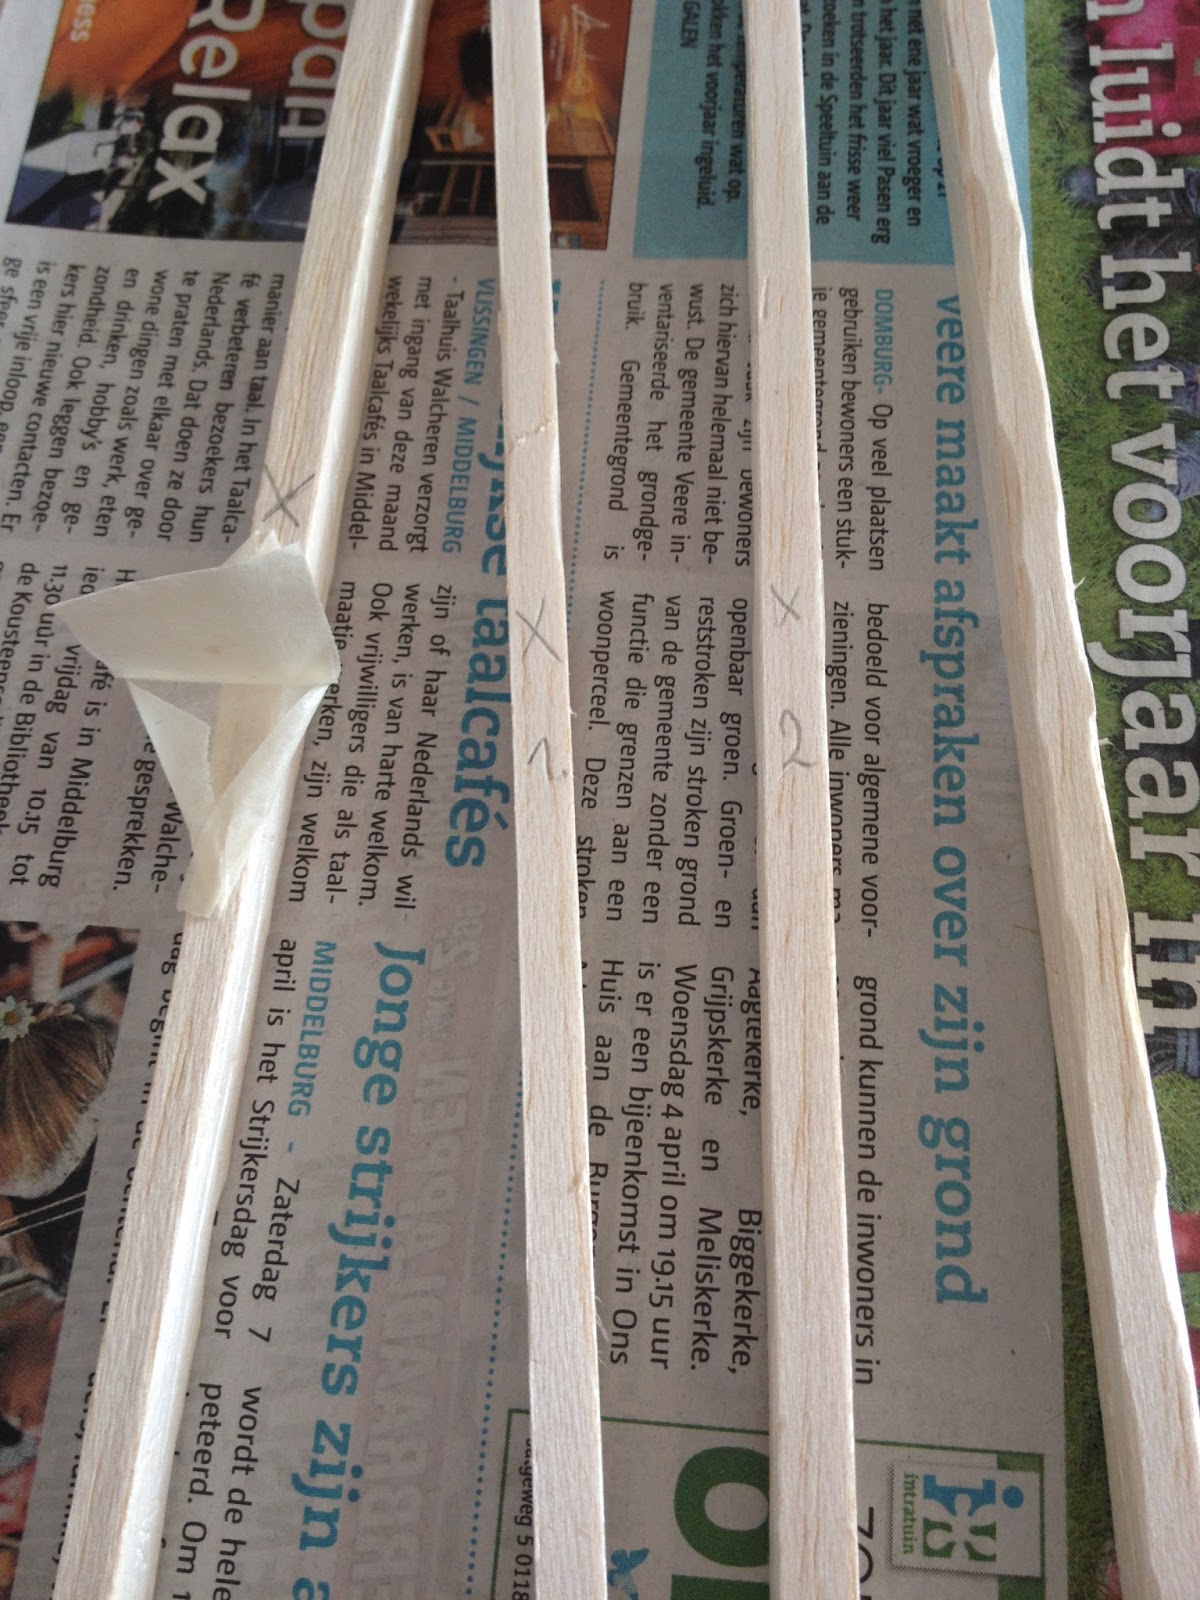
The beams all have been cutted, carved, sanded and stained


While working on the ceiling (inlay), I found out I made a mistake,
and had to make, craft, sand and stain a new beam :')


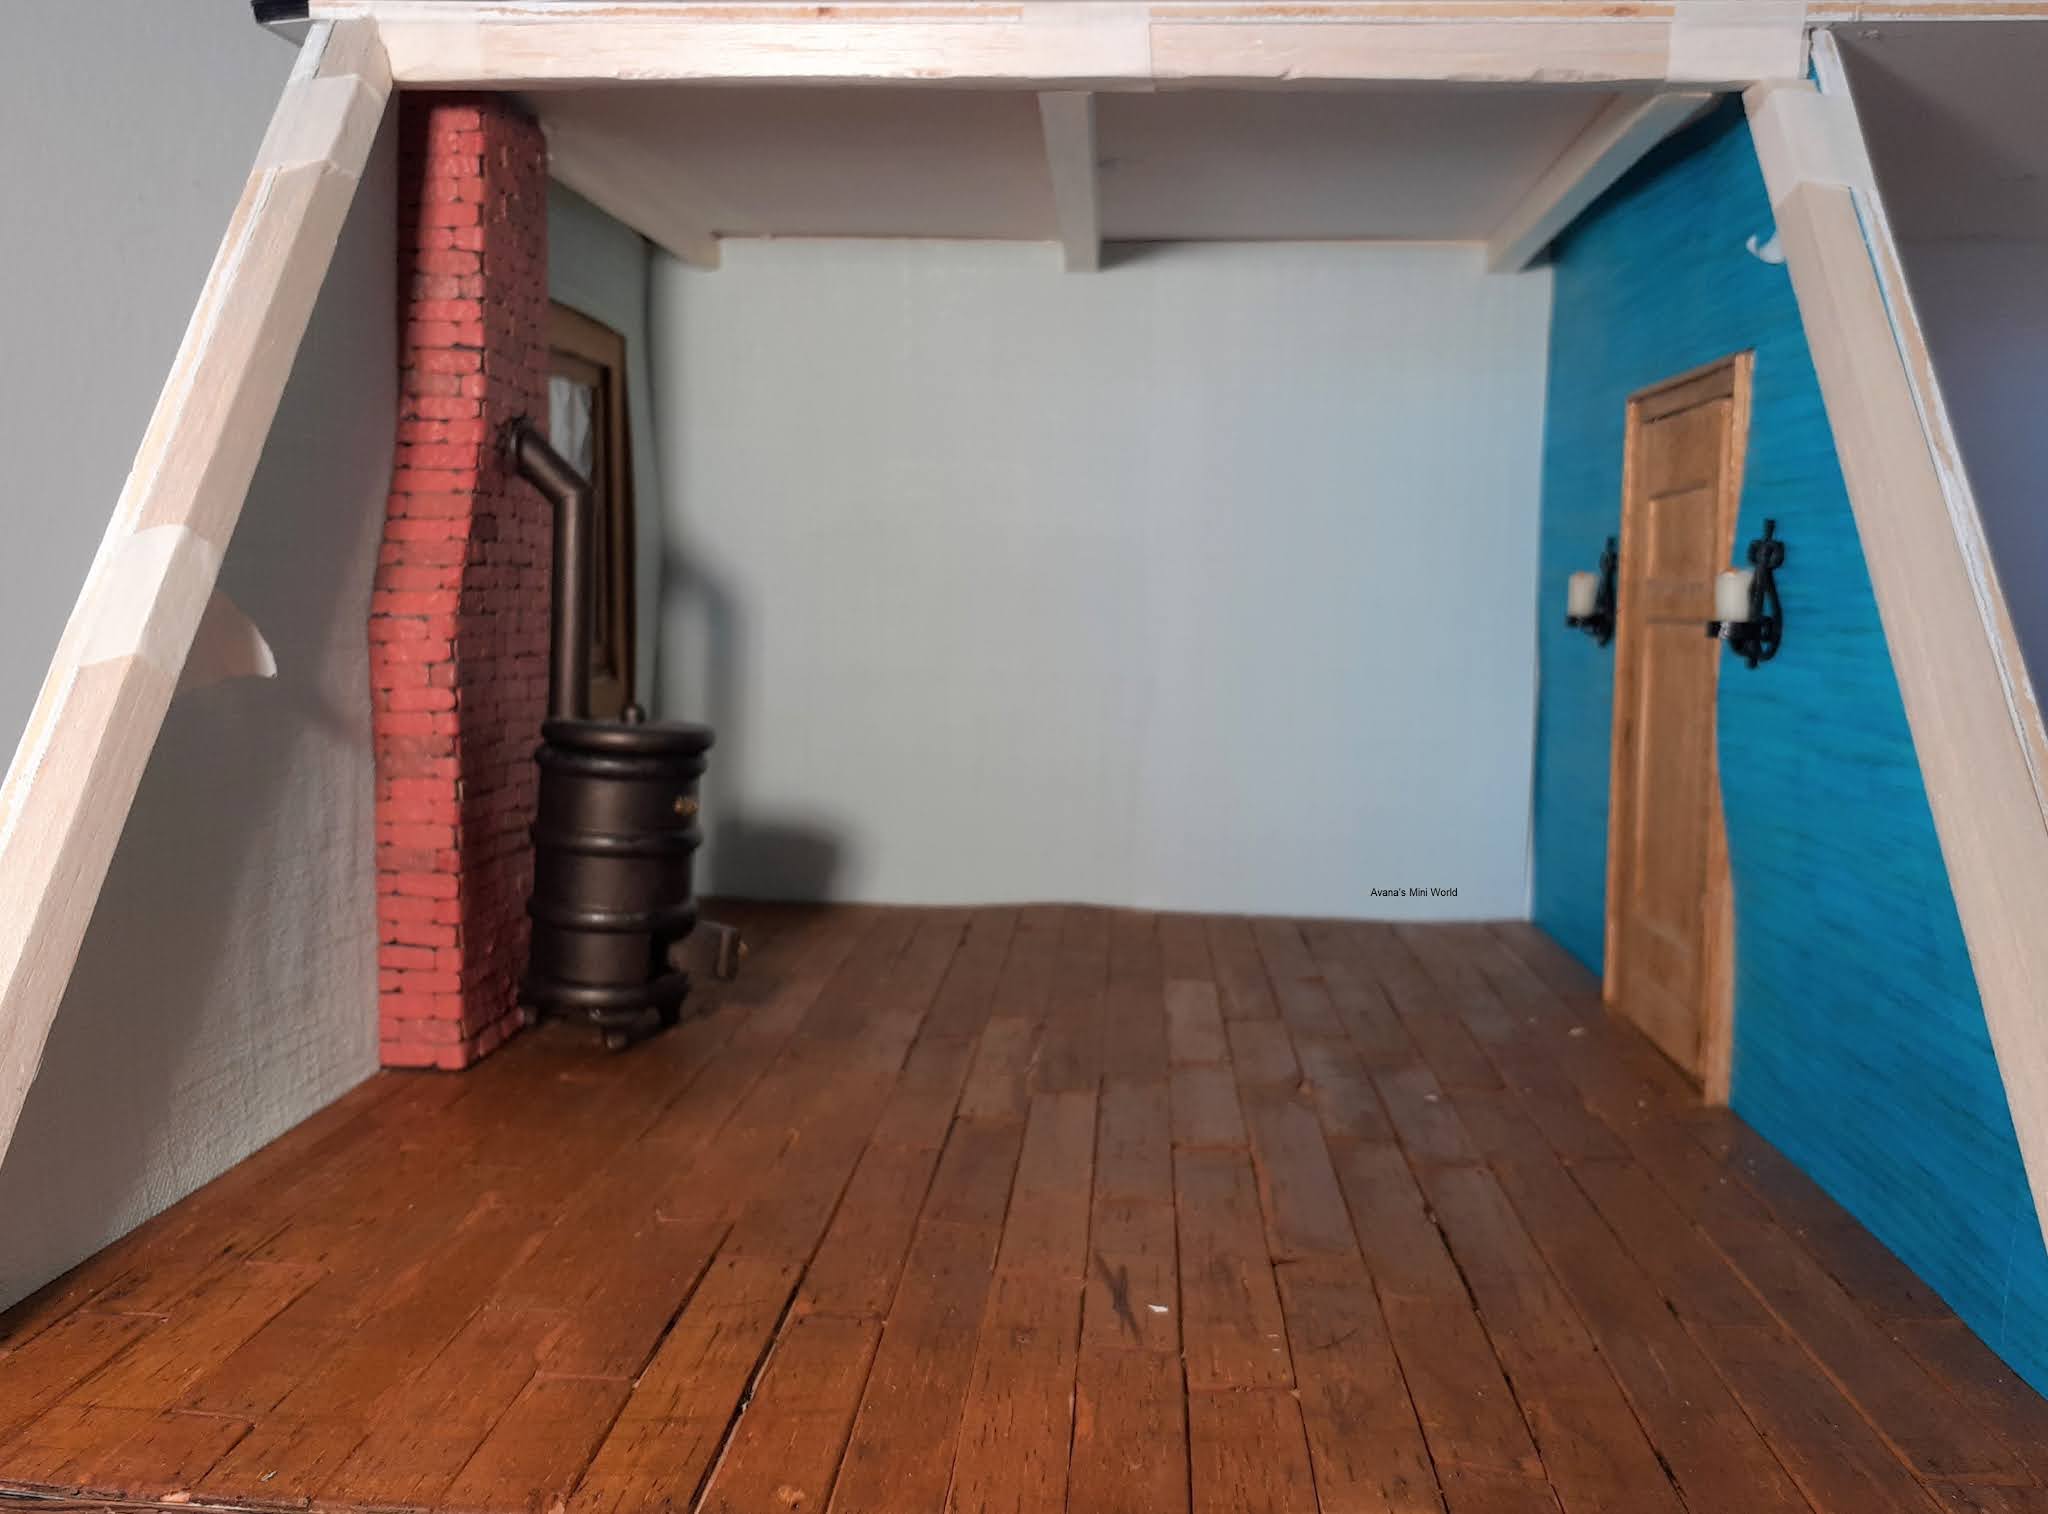
I've changed the layout of the room. Penny's bed is now at the 
front,  with room next to the fireplace for her dollshouse or a
desk or other play things. With the beds on the other wall you
could hardly see the potbelly stove and the window. 


I've beewaxed the wooden floor and put in the window sill. Next will be making the curtains and attaching the door handle. But for now I'm taking a little break to work a bit on my story :')

Monday, February 15, 2021

Building a gabled dormer

The previous weeks I've been working on the exterior of the cottage and made some real progress.
I started by measuring and cutting the wood for the roof and front.


I've kept the roof (panel) a bit longer because first I wanted to know how everything would fit with the piano hinges attached.


I used 4 mm plywood (poplar) for the roof and front just like I did for the rest of the cottage walls.


I had ordered piano hinges and Connie's husband was kind enough to saw them for me.
Then I drilled the holes for the screws, and that's when I faced a new dilemma :')
Dolls house walls are normally a bit thicker than mine; approx. 8 mm instead of 4 mm. So the screws for the piano hinges were too long but smaller (4 mm) screws would just disappear through the holes of the hinges. 


After much deliberation with and advice from Thea (Minidoor), Connie and my dad I decided adding beams to support the screws would be the best solution.
Despite not being very sturdy I choose Balsa wood so I can carve and age the beams to fit the ones in the living room :)

Since I wasn't sure what to do next - put the beams in place and then the screws or finish the upstair rooms first - I started planning and drawing the dormers. That took quite some time :')
On the next photo you can see the first paper version (both windows will be gabled like the left one). Doing a gabled dormer in the middle (the attic landing) might be a bit to fancy for a simple cottage though, so I'll probably just put a window to let in some light. 


I kept making adjustments to the drawings of the dormers, but when I started cutting the wood, the gabled roof still didn't fit. 


Then finally when I had the right plan for the dormers, I cut the wood and put it together with masking tape.
Can you see all the paper templates on the table and all the pieces of Balsa I've cut wrong? :')


Glueing the pieces together was a tenatious work because Balsa (2 mm) is so fragile. But I still love working with it.


While the glue was drying I drilled holes in the roof (panel), painted it with Gesso ánd I did some woodworking on the first three beams to give them that rustic look.
I also made the openings for the windows a bit bigger.


I built the sash (notched) frames. Similarly built as the windows I'd already done.


I was relieved I still got some gelatin sheets for the glass effect :')


After I cut the wood strips for the outer frames it was decision time again :')
1. Should I stain them to match the windows on the sides of the cottage or
2. Should I match them with the slate tiles I'd been planning?
I needed to decide before I could put the dormer together.
After giving it a lot of thought, I have decided on option 2.  I like the dormers matching the tiles as well and I think it would be better to match the whole front together, because that's the first view you get.
Once I'd made up my mind, I glued the Balsa pieces at the front (moldings?), sanded both dormers and  put Gesso on the inside and outside.


The outside of the dormers got a coat of black acryl paint and only the front of the dormers got a second coating (since there will be tiles covering the roof and sides ^^).

After adding varnish on the front I could put the windowframes together.
When I was looking for egg carton to make slate tiles for the roof I came across some nice grey wall paper. Maybe if I painted it a bit more black and grey-ish and cut it in even tiles it would look nice?


I decided to give it a go and I love the result! <3 So, the next couple of weeks I'll have my work cut out for me ^^
First painting three more sheets of wall paper, cut them in 3 x 3 cm squares, finish the second dormer and then I should be ready to start glueing all the tiles to the roof :')


Monday, April 9, 2018

The fireplace for the living room

I'd given you a first glimpse of the fire place when I'd showed you the beams last week:


This fireplace is based on a combination of tutorials from JS Miniatures and Manual 'the Handyman', to which I've added my own idea's here and there :)
Like the bricks from egg carton I'd made, instead of brick like wallpaper. Underneath is a layer of grey acryl structure paint.

I worked on the back and the sides pieces at the same time,
so the rows would be level.

My ruler acted as a mason's line; a guide for setting bricks in
perfectly straight rows :)

I cut the sides that would be glued to the back at a
45-degrees angle.

Because the top part will be placed a bit downward, I did the
layers of bricks on the side parts upwards in the same angle.


Top view showing assembly

Back and side panel glued in place. Also
 remembered the wires for the campfire in time :)

In the meantime I'd  painted some thin card board (from a
pizza box ^^) with Gesso and gave it a little bit of structure
with a scourer. Once everything had dried I glued the
beams to it.

Testing if everything - ceiling, beams and
fireplace would fit.

Well, barely, and very carefully, but it did :)

Of course I should have put the wires
throught the opening in the wall first (a)

Testing the fire obviously required a chair :)


And even Harry couldn't resist it. It already
reminded him a bit of the Burrow, he told
me ;) I'm in a very happy place atm <3


Friday, April 6, 2018

Update on the Hogsmeade Cottage: beams and bricks

March was busy month; I'd finally put the walls of the cottage together, went to the Fair in Spijkenisse, worked hard on the little roombox, made 6 plant hangers, an armchair, a photo box, a 1:36 scale sauna, and spent some evenings crochetting :)

The first week of April though I've finally been working om the cottage again.
Didn't know which room to start with, other than it had to be on the ground level (because of the electricity), but the living room seemed the easiest.
Because all the oak wood (windows, doors, staircase and possible furniture) might look a bit dark, and there will be added lots of colours because of the boho chic style I want, I've decided to keep the walls, floors and ceilings simple.
The floors will probably be wood or tiles (for the kitchen and maybe the bathroom), the walls will be primarily plastered in white, though I might give some walls a very light colour paint :)
And ... I want old oak beams!
So that's where I started. Lot of research of course; what's  common for a simple Scottish cottage? In which direction should the beams go? Which meassurements? And so forth ;)

According to Kim, and other miniaturists
there would be no need for the support struts
(the side pieces) because the beams are attached
to the ceiling and walls.
So, although I liked them, they had to go :')

When I started putting the beams together with
tape, I remembered the chimney breast that
should be integrated there also. 

Before I started aging the beams I marked the
side which would be glued to the ceiling, and
numbered them. Before I started staining them,
I put a piece of masking tape to that side as
well so I could handle it better.

First beams are finished. I love them!! ;)

This morning I put the whole frame in place
to see if it would fit and thought: 'Did
I do all the work only to see this?' :')

I forgot that I'm not 15 cm tall :)
Looks good from this angle. And it fit!

The exterior part of the fireplace.
Including a beam, just because I love them.

I've already started on the bricks on the inside.
Not sure if I'll keep the outside this way or
cover it (partly) with bricks too.
For those who asked; I made the beams from Balsa wood, 10 mm height and 6 mm deep. I used your regular indoor/outdoor oak wood-stain, just like I've done with the windows and doors.
Tutorial on how I make the beams look rustic from  Miniaturas y casas de munecas!