Showing posts with label candle holder. Show all posts

Sunday, April 25, 2021

Hogsmeade cottage - the bedroom part 1

After having finished the roof with the gabled dormers, I treated myself on some kits from 't Tafereeltje. A reward as well as a motivation for the bedroom ;)
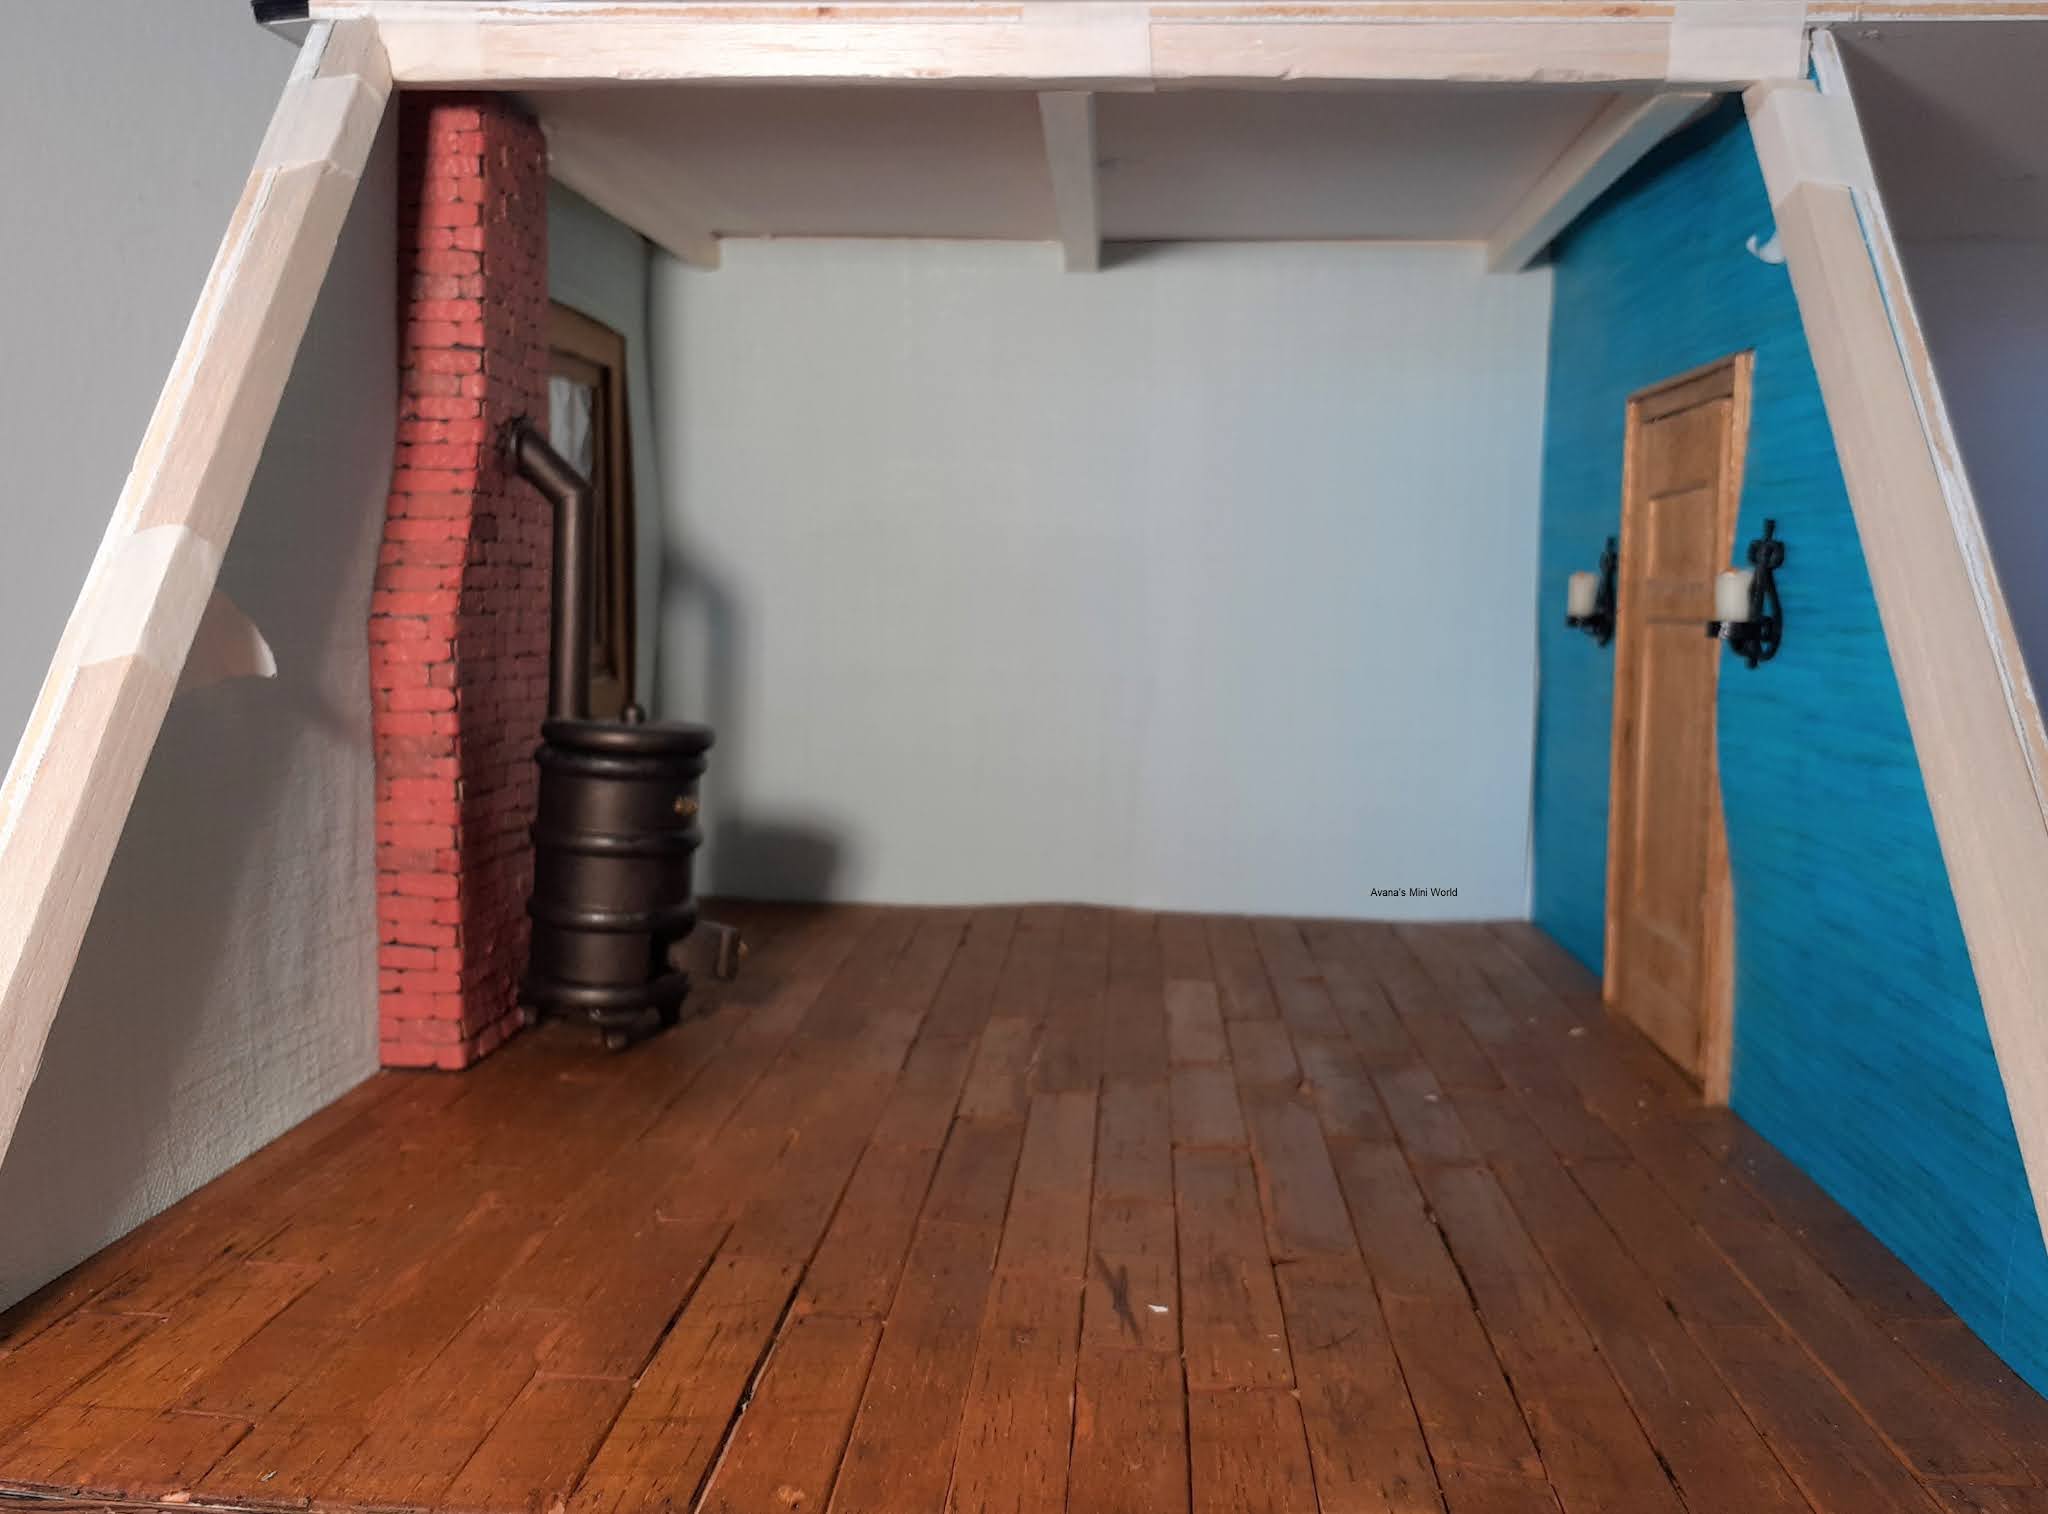
I was very happy to have found the candle wall sconces I liked for the bedroom. Love the rocking chair and the dressing table with the mirror. I've also bought door handles, so I can finally finished the doors after four years (a) Furthermore black stiletto's for Bianca and some cleaning supplies for the cupboard under the stairs. 


I assembled the wand lights after I drilled holes for the wires.
.

I sanded and painted them. 


Then I coated them with acrylic varnish (gloss).


I needed extra light bulbs for the candles, and couldn't resist to buy
some bonbons as well. They are white resin paint-them-yourself
bonbons. I've also bought a small bottle for glue or paint. And as a
surprise I got an extra resin object; Alladin's lamp. But those
bonbons .... omg I can hardly see them :') 


I made candles around the wires just underneath the little light bulbs,
baked them and then put the wires through the hole in the cups.


I punctured two little holes on either side of the door opening and
threaded the wires through after I have put some black nail polish
on the wire just under the sconces so you won't see any white.


I wallpapered the next wall, using a soft light mint coloured
wallpaper, a left over piece from my sister's bedroom ^^ 


I spend quite some time deliberating how to place the beams.
This way I can hide two ledstrips in the 'gap' between
the beams and the side walls at the back.


The beams all have been cutted, carved, sanded and stained


While working on the ceiling (inlay), I found out I made a mistake,
and had to make, craft, sand and stain a new beam :')


I've changed the layout of the room. Penny's bed is now at the 
front,  with room next to the fireplace for her dollshouse or a
desk or other play things. With the beds on the other wall you
could hardly see the potbelly stove and the window. 


I've beewaxed the wooden floor and put in the window sill. Next will be making the curtains and attaching the door handle. But for now I'm taking a little break to work a bit on my story :')

Thursday, December 24, 2020

Advent calendar 2020 - day 22. 23 & 24 of Santa's workroom

The last blog before Christmas Day, and the last one of the Advent calendar, and probably the last one of the year ;)
Like I'd said, I haven't done more of the tutorials (it's all too tiny and straining for me atm) but I put in  some final decorations in the workroom and the tree.
So this is it for this year. I had a great time with this project and I'm still amazed at what I've done in less than a month. I guess that's not something I can do again, but I hope I can continue working on this project and maybe add a toy shop next winter :)

The parcels in the lest corner are made by Kim
(Bibbidi Bobbidi Boo)

Also, I finally finished my Santa. He almost would have been a nearly-hairless Santa tomorrow ^^
I used the curly wool type hair Kim had sent me and it worked so much better than the straight viscose fibres I used for Bill! That needed a much more steady and experienced hand than mine ;)


With our crafting club we started making a Santa back in September and I didn't expect him to be finished on time when I started a second project in December.
Jolinda has finished her Scottish Santa as well, and you can see him here: click

Now it's time to put all matererials away and enjoy the holidays. My son arrived today, hadn't seen him in six month, and tomorrow we'll have diner at my parents, what more could I wish for in this very difficult year.

I wish everyone a merry Christmas and hope 2021 will be a good/better year
and most of all a healthy one.
Take care 💗

Monday, December 21, 2020

Advent calendar 2020 - day 20 & 21 of Santa's workroom

I told you I'd think about another layout. However, that will be something to tackle next Advent. I'll see then whether or not I want to make a toy room next to the work room. Maybe I'll keep this whole space for multiple elves to work in, or have a fireplace and a comfy chair for Santa on one side. I could alway make another roombox the same side and have a toyshop with the workroom on the first floor ;)
Since I don't want to make that decision yet, I won't finish the inner or outer walls.
I will make some more decorations for the tree and the room, but not much; making the smaller miniatures, combined with the working pace is taking a toll on my upper body again :')


Though I did do another challenge from the Advent calendar this weekend.. The tutorial used tiny 8 x 10 mm spools which I didn't have, so I made a cylinder shape in that size from Fimo, and then I took some inspiration from this tutorial from Catharine Black. 


It was fun trying to figure it out and I love the result, but two was more then enough ;)


I'll decorate the tree further and I'd almost forget that I still have Santa to finish so there will probably just one more blog about the Advent calendar. Hopefully before the 25th ^^

Here is the complete list:

Day 1 - getting together the roombox
Day 2 - a standing-table
Day 3 - shelf unit above the desk
Day 4 - 3 drawers unit on wheels
Day 5 - a bench stool
Day 6 - Santa's little helper
Day 7 - Santa's little helper
Day 8 - Santa's little helper (hair & beard)
Day 9 - step stool
Day 10 - desk accessories
Day 11 - desk pad & paper bin
Day 12 - Christmas tree
Day 13 - tree skirt
Day 14 - small wall unit
Day 15 - large wall unit
Day 16 - Christmas tree candles
Day 17 - knitted Christmas bauble
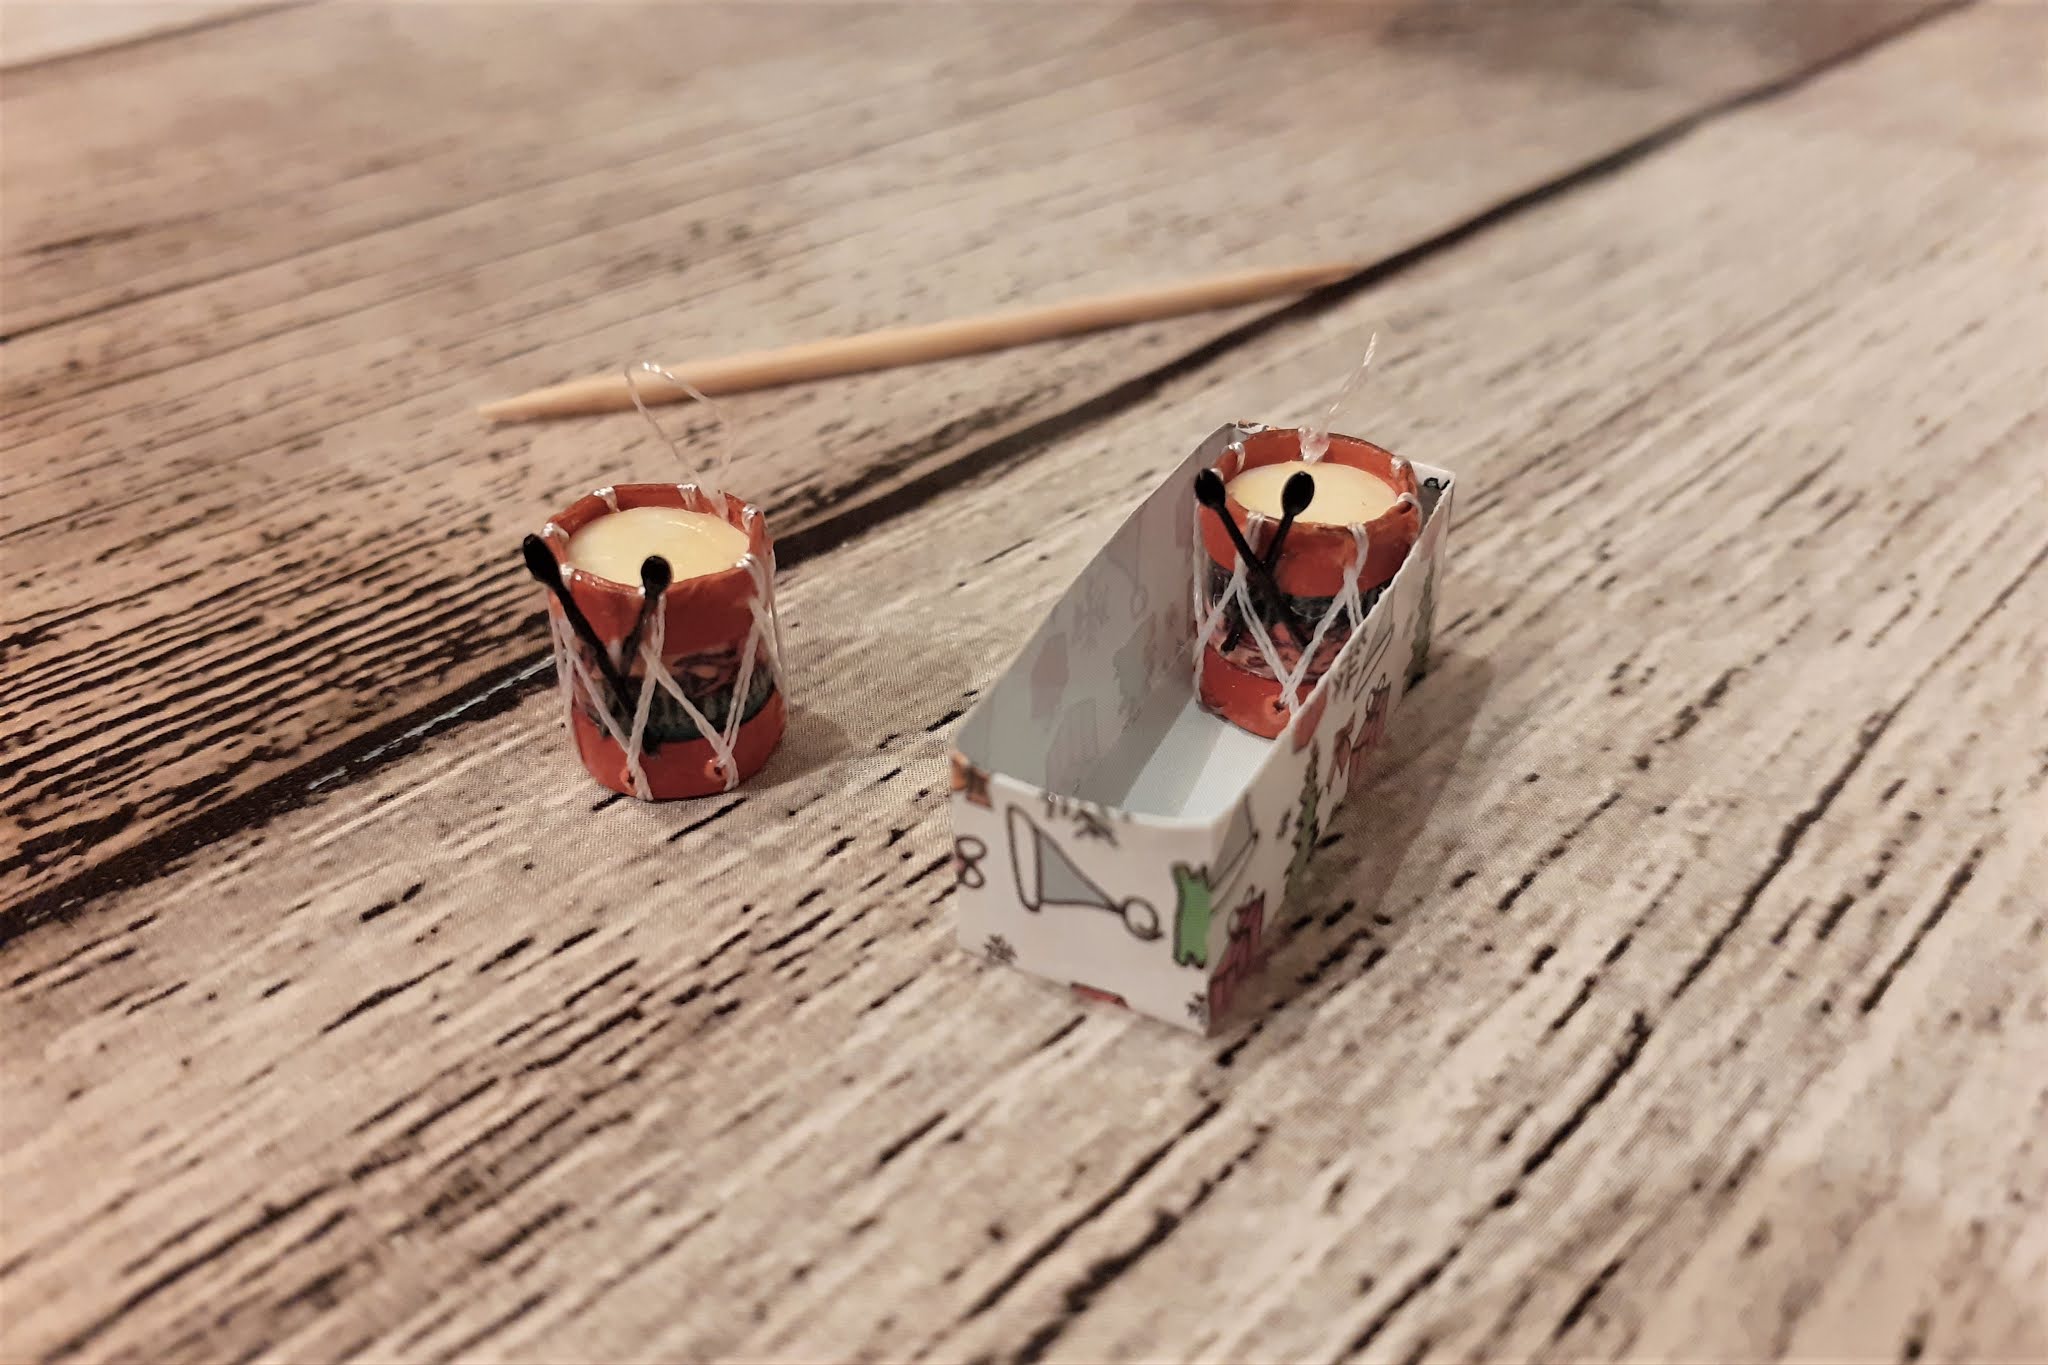
Day 18 - little drums
Day 19 - Christmas cookies
Day 20 - little rocking horses
Day 21 - Star anise and cloves
Day 22 - Christmas baubles & garland
Day 23 - Little paper angels
Day 24 - Crochetted Christmas star

Wednesday, January 23, 2019

Beewax candles by accident :)


A good friend (not miniature) has asked me if I could make something fitting for a display of Lemax Scary Town Theme figurines. I'd already promised before realising that those are 1:32 scale :')

Photo from Lemax site

I suggested some dripping candles on pumpkins and skulls, thinking that would be the easiest to do something like that for that scale. Fortunately she liked that :)
I've made the candles just the way I always do; learned from a tutorial in the DHN (Dutch) magazine by Marike's Magical Minis, with translucent white and a scrap of cognac fimo.
After baking them however they'd turned out yellow-ish and had tiny cracks. Not sure what I did wrong; the mixing or the baking.
A friend told me that they look the same colour as church candles, the beeswax ones. The colours were not the worst though, I was worried about the cracks. Didn't want the candles to break.

The 'original' candle on the left, unbaked clay on the right.
I've painted some tiny pumpkins I had a brighter orange than I
normally would since that seemed to fit the Lemax style better.
 I also added some washed down paint on the skull(bead)s.

I think I didn't like them much because of the previous candles (in the back); they look so much better.


But the next day I discovered that the candles looked so much better in daylight :)


From the left over clay I've made some 1:12 scale candles, since you can never have enough of those ;)


Friday, April 28, 2017

More waffles :)

I've just learned to crochet the waffle stitch. It's fun to do and much easier than it looks :) I already showed you the first things I made but they were not done.
Since then I sewed a faux sheet to the bedcover and finished the cushions.


I really should finish the matrasses for the beds (a)


One of the lovely fabrics I bought at the fair in Rijswijk last week. This one is from Jan van den Doel. Bianca now has two cushions for the price of one ;)


Yesterday I tried to make another very tiny cushion with the last of this brown embroidery thread I've been given, but it just wasn't enough. And so I came up with the idea to make a cosy candle holder instead :D


This may be a good way to use every last bit of thread I have. So ... ;)