Wednesday, June 23, 2021

Sansevieria's and Bay leaf plants from diy-kits

I've made Sanseviera plants this weekend.
These were made with one of the diy-kits from De Hobbyshop I bought through OMINIS.

OMINIS is an international 'shopping centre' on the Internet. Born from the idea to create a kind of trade fair online in order to bring the participants and visitors together because the pandemic that started in March 2020 made organizing fairs impossible.
It's a shopping center with only shops selling handmade or handcrafted dollhouses and miniatures and shops with supplies for the dollhouse and miniatures hobby.


I also made a bay leaf plant, which was much more work ;)


I planted it in one of the pots I've made recently which meant I only used 3 out of 5 stems. I want to put the other 2 in a planter with other herbs.


I liked doing those kits, though I'll try to add a bit more detail and shading on the leaves next time :)

Thursday, June 17, 2021

Making a paper flower pots and a jug kit


Making miniatures is getting more straining physically the last couple of years. And it lessened the fun I alway had. So recently I've bought some small kits at different webshops to get me back on track making miniatures and enjoying them :)
At 't Tafereeltje I've bought some flower boxes, a pizza cutter, a wooden pizza plate with handle and a kit to make nine flower pots and a jug from paper. All of which is for the Italian project.


I've make jugs and other things from paper before but never got the result I wanted so I was curious how this would turn out.
It was easy enough, the descriptions were clear and I like the effect of the paint with filler mixture.


The flower pots look very nice imo even though they are a bit smaller than I expected. But that will be a good mix with the flower pots and planters I already got. Plus need less flowers to fill them lol
I love how the jug turned out. I had choosen an olive acrylic paint and did - I think 3 or 4 layers before I gave it a gloss varnish coating.


Wednesday, June 9, 2021

Crafting together (June) and birthday swap


Yesterday we had our monthly crafting afternoon again. Extra special because we celebrated Connie's birthday, and also because Jenny (and her husband) from 't Tafereeltje dropped by.
Coffee, gifts and chatting ... oh my ;)

Jolinda had made this vase with gorgeous roses and some lovely baskets.

@ MiniaturenJolinda

Since Connie is working on a take away pizzaria atm and I've got a Pinterest board with lot of ideas for my own Italian project, it wasn't hard to decided what to make for her.
I went with a miniature wine rack inspired by this one (lots of similar images online):

I drew a design and made it from Balsa. 


Gave up on the rack for the glasses after the 3rd attempt and realised without it it's possible to either set the wine rack on a counter or hang it on the wall ;)


I've found some Italian wine labels online and resized and printed them for the wine bottles I already had.


Next I'd made a cork screw inspirered by this tutorial by Daniela mini though I used a spring from a pen.


It look so pretty I'm sure I'll be making another one for the wall of my trattoria ;)


Same goes for the metal signs I've made. Google provided me with lots of very nice images when I looked for 'vintage poster Italy'. Credits for the tutorial on making these signs to Fabulously Small.


Finally I tried to create a drip candle wine bottle. My first attempt with Fimo Liquid didn't work out :')
The (plastic, yes I know) bottle started to melt very soon. Since I'm used to put Fimo with paper of light bulbs in the oven, I didn't think it would work on the bottle as well ^^
So in the end I used acrylic paint.


After Jenny and her husband had left, we started crafting. Connie and Jolinda both worked on making furniture. I've started with a kit for a bay leave and did some crocheting in between. More about that in the next blog though ;)


Tuesday, May 25, 2021

Hogsmeade cottage - the bedroom part 2 & Crafting together (May)


After I had made the candle wall sconces and finished the walls, floor and ceiling it was time to make the curtains.
This time I wanted the curtain rod to slip through eye hooks on the wall. I embellished the hooks with wooden beads to get a little more clearance between the wall and the finials on the rod.
The rod is a wooden screwer I sanded until it would fit the smaller eye hooks and then I painted it with gold acrylic paint.

It should have been easy to twist the eye hooks in the wall and slide the rod (with only one finial) through the eyehooks. Then add the curtain in the middle and then put a finial on the other side.
Unfortunately the chimney-piece prevented that so I started by marking where the eye hooks would go, twisted only one in the wall and then finished everything else.


Two weeks ago Jolinda, Connie and I spend an afternoon crafting together. It was the first time in a while due to corona that it was the three of us and it very enjoyable :)
Connie worked on the sidewalk for the front of her shops and Jolinda made beautiful peonies.
I started making the curtains untill I got frustrated with them (a) and then got the oak stain out for the rocking chair and the dressing table with the mirror :)


Later that week I finished the curtains. I like the look ...


... but despite measuring more than once they still turned out to short, so I'll make new ones later :')
Penny doesn't care, she's happy with the new rocking chair :)


I also made time to give the shiny new door handles (on the left) a more aged bronze look.


And while I was at it, I also did the (Alladin) oil lamp and Bianca's high heels. Kept the inside and the soles of the shoes black.


Because I find it very difficult to take good photos from the back of the room, I made a little video :)
You can see the wash jug and bowl set (bought in England), the shawl (I made a few years ago) and the corset (gift from Kim) I've found back last week when I was organising my craftroom ^^. 
Furthermore the high heels near the bed, the chalk bord I want to fix for Penny and the door handles. Very happy with the progress ^^

I've also finally connected all the lights in the bedroom. The ledstrips behind the beams appear brighter in the video than they are though. 


Credits:
Inspiration for the eye hook with bead combination came from TinyFixation.
And the idea of the sewn on rings curtains (which I also used for the living room) is from Kendra's Minis.

Friday, May 7, 2021

Penny's pinboard

When I came across this tutorial by Julie Warren for a pinboard, it seemed like a great addition for Penny's side of the bedroom.
She was born in 1988 in a Muggle town and grew up there. Which is why there are posters and pictures of movies she's seen, of the Spice Girls (she likes Mel 'Sporty Spice' C the best) and Take That (secretly she had a crush on Mark Owen).

Now, at ten years old, she and her mum have moved to the cottage in Hogsmeade and she finally gets to discover the Wizarding World. Now the Weird Sisters, the Holyhead Harpies and dragons are all she can talk about and she saves every magical candy wrapper, a Hogwarts Express ticket, as well as one from the Knight Bus. 


I didn't have a sheet of thin cork, so I used a few of these stickers.

I used Balsa 3 mm strips for the frame and only varnished it. 

Penny has pinned all her favourite pictures and
is now deciding where to hang the posters.


Sunday, April 25, 2021

Hogsmeade cottage - the bedroom part 1

After having finished the roof with the gabled dormers, I treated myself on some kits from 't Tafereeltje. A reward as well as a motivation for the bedroom ;)
I was very happy to have found the candle wall sconces I liked for the bedroom. Love the rocking chair and the dressing table with the mirror. I've also bought door handles, so I can finally finished the doors after four years (a) Furthermore black stiletto's for Bianca and some cleaning supplies for the cupboard under the stairs. 


I assembled the wand lights after I drilled holes for the wires.
.

I sanded and painted them. 


Then I coated them with acrylic varnish (gloss).


I needed extra light bulbs for the candles, and couldn't resist to buy
some bonbons as well. They are white resin paint-them-yourself
bonbons. I've also bought a small bottle for glue or paint. And as a
surprise I got an extra resin object; Alladin's lamp. But those
bonbons .... omg I can hardly see them :') 


I made candles around the wires just underneath the little light bulbs,
baked them and then put the wires through the hole in the cups.


I punctured two little holes on either side of the door opening and
threaded the wires through after I have put some black nail polish
on the wire just under the sconces so you won't see any white.


I wallpapered the next wall, using a soft light mint coloured
wallpaper, a left over piece from my sister's bedroom ^^ 


I spend quite some time deliberating how to place the beams.
This way I can hide two ledstrips in the 'gap' between
the beams and the side walls at the back.


The beams all have been cutted, carved, sanded and stained


While working on the ceiling (inlay), I found out I made a mistake,
and had to make, craft, sand and stain a new beam :')


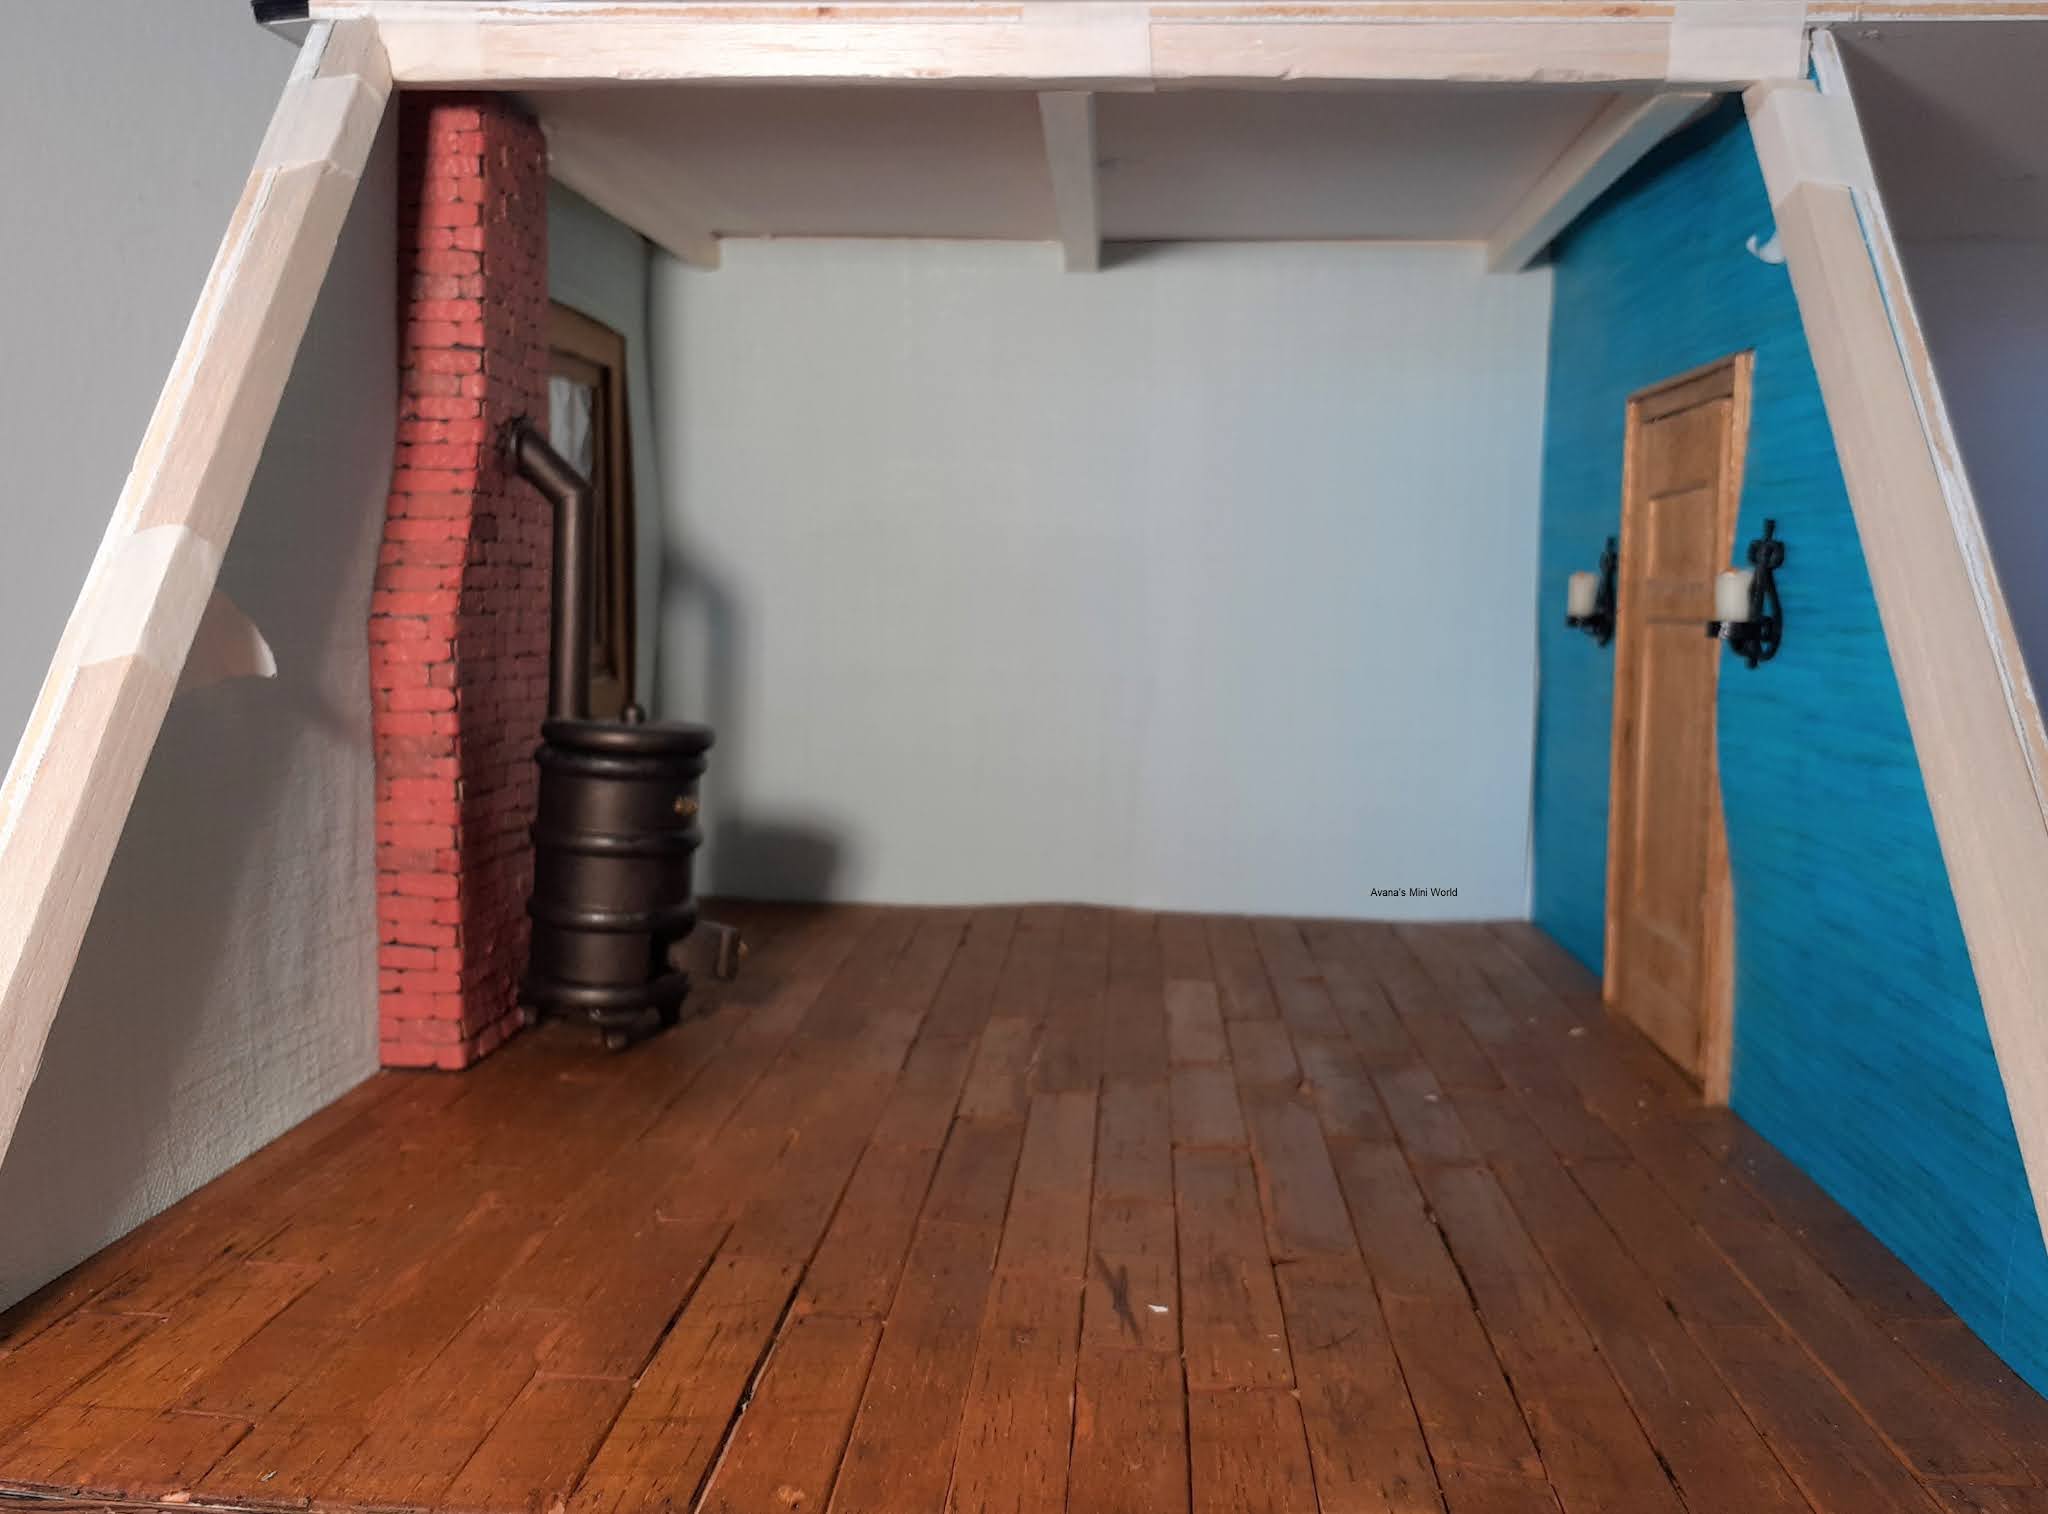
I've changed the layout of the room. Penny's bed is now at the 
front,  with room next to the fireplace for her dollshouse or a
desk or other play things. With the beds on the other wall you
could hardly see the potbelly stove and the window. 


I've beewaxed the wooden floor and put in the window sill. Next will be making the curtains and attaching the door handle. But for now I'm taking a little break to work a bit on my story :')